
Lensun Solar Setup + Review
Club members can now get 10% discount 🟢
Club members can now get 10% discount 🟡
Club members can now get 10% discount 🟢 Club members can now get 10% discount 🟡
The Lensun Solar kit comes with 3 main components (depending on your selected kit options). The solar panel itself, a solar controller and a vinyl decal. Our panel and vinyl arrived in one long box, well protected with firm cardboard and wrapped in plastic. The solar controller arrived 1-2 days later in a smaller box but still adequately protected. Included in the kit is also: hood solar panel installation manual, some zip ties and cable management, squeegee and Smart-MPPT Series user manual.
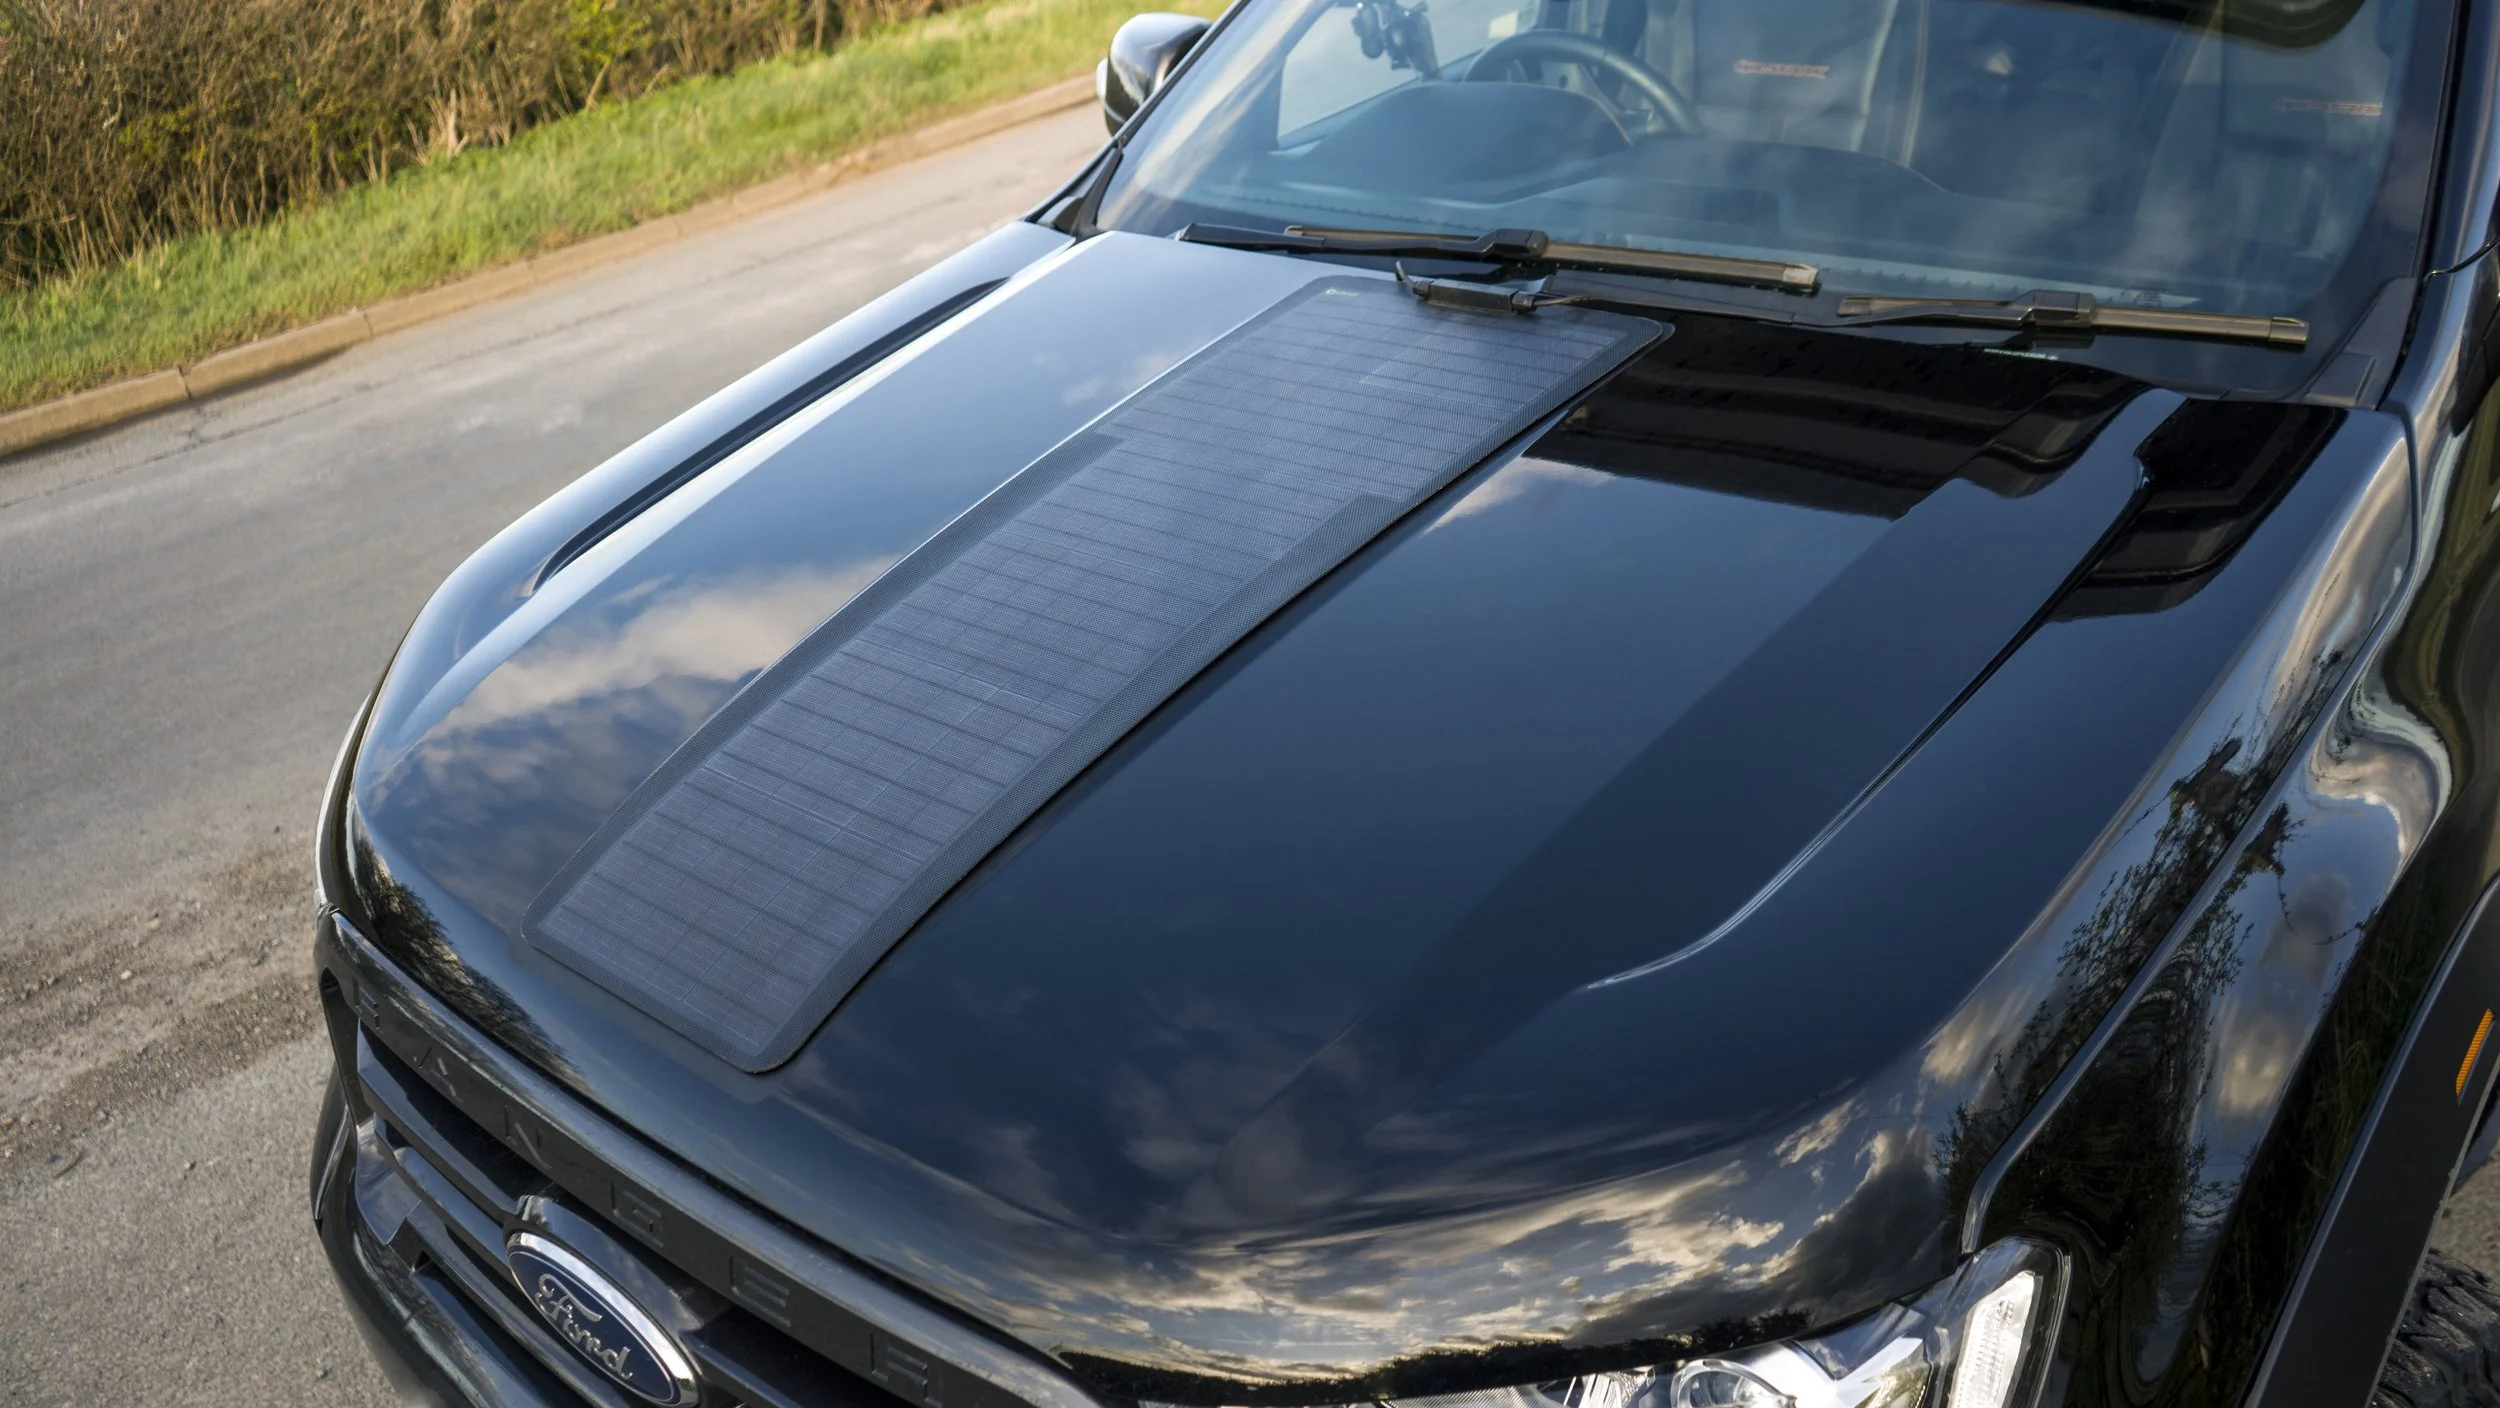
Solar Panel

The photovoltaic (PV) panel produces electricity directly from sunlight and is custom sized to fit nicely on the Ford Ranger (2019+) bonnet bulge. It has a rigid construction with the smallest amount of flex allowing it to curve with the bonnet shape.
The PV panel on its own captures energy from the sun and converts it into electricity. The panel can then be connected to either an (optional MPPT) solar controller / regulator or even directly into a battery bank such as EcoFlow, Jackery, GoalZero etc. (you’ll need an adapter with suitable plugs depending on the battery bank)
Specs:
Peak power: 45-50W
Maximum power voltage: 21V
Maximum power current: 2.14A
Open circuit voltage: 24.78V
Short circuit current: 2.35A
Power allowance range: +/-5%
Net Weight: 1.4kgs/3 lbs
J-Box: IP 68 rated with 2m/6.5ft cables and standard connectors
Solar Controller
A solar controller limits the rate at which electrical current is added to or drawn from batteries to protect against electrical overload and overcharging. The optional MPPT (Maximum Power Point Tracking) controller optimizes the match between the solar array and the battery. The Lensun 10A (12V/130W) MPPT Solar Regulator supports Lithium, Liquid, Gel and AGM batteries, is waterproof and comes with a nifty Bluetooth companion app that allows for super easy setup and monitoring.


A solar controller is only needed if you plan on connecting the PV panel to your vehicle battery or a leisure battery. If you want to use the PV panel to charge a portable power station / battery bank, you do not need a solar controller as these types of units generally have one internally built in.

Vinyl Decal
The; again optional, lazer cut piece of vinyl has been designed to fit perfectly on the Ranger’s bonnet bulge and have an ever so slightly bigger footprint than the solar panel. The decal is applied on the bonnet to protect your paint; rather than fixing the panel straight to your vehicle.
Install
The first step of installation is cleaning your bonnet, making sure there is no dust or grime. Carefully align the vinyl decal central on the bonnet and use the included squeegee to work out any bubbles. The instructions advise using 3M tape to attach the panel but we opted to use Tiger Seal for a super strong but flexible fixing. Liberally pasting the polyurethane adhesive onto the back of the PV panel then flipping over and lining up on the vinyl. It’s important to apply some pressure to help the panel stick. Because we used the liquid adhesive, we did encounter the PV panel sliding down the bonnet so had to hold it in place until the polyurethane started to cure.
App
The MPPT controller comes with in-built app connectivity. The app ‘SolarLife BT’ can be downloaded on Andriod or iOS, giving you setup functionality and monitoring capabilities.
Recorded during non-optimal sunlight
The main monitoring page of the app allows you to see various data from the system - all in real time.
The PV tab shows you the panel’s voltage, current, and power as well as a 60-day energy graph.
The Battery tab lets you see the voltage, current, temperature, status and charging status.
The Load tab would show similar data and energy consumed, if you had a 12v appliance directly connected to the MPPT.
The parameter page is where you first setup and configure the system.
The Device tab lets you set the time and manage multiple controllers.
The Battery tab is where you select your battery type from Lithium, Liquid, Gel or AGM. Selecting the correct battery type is important as it alters the charge rate and target voltages.
The Load tab lets you control your load / appliance power. Selecting from 24h, dusk-to-dawn, 5-stage mode or manual, can be handy for things like fridges when you want to keep them cool but not powered 24/7.
Review
The Lensun Solar panel and MPPT controller is a brilliant kit that’s easy to use. It’s perfect for anyone looking to get into solar or wanting to camp / overland for longer durations. Being able to power additional appliances or having the piece of mind that your vehicle battery won’t run flat is great. At ~£280 it seems reasonably priced compared to alternative kits when you consider the Lensun panel has the benefit of being designed to fit the Ranger. The installation process is pretty painless (remembering you need to supply your own adhesive) and can be completed within a day by just one person.
The SolarLife BT app is easy to use and navigate, although it’s not something you will need to regularly use post set-up. The Bluetooth range did seem a little short (still reaching 1m from the vehicle) but this could be due to the controller’s placement. We did encounter a bug in the app where no Bluetooth devices appeared, this meant we couldn’t monitor the system. The bug only lasted for 1-2 days during which the support from Lensun was great.
The panel and controller are both waterproof which we put to test at our recent event. The panel seems durable and handled a light jet wash but only time will tell how it holds up against stone flicks.


- 2023
- 2024
- adventure
- all-new ranger
- arb
- camping
- caravanning
- chassis
- chassis rust
- commercial vehicle
- community
- connect
- d of e
- dakar
- dakar rally
- edc
- equipment
- ford
- ford australia
- ford motor racing
- ford performance
- ford ranger
- ford sa
- ford uk
- ford us
- lariat
- limited edition
- m-sport
- modifications
- motor racing
- ms-rt
- mud
- news
- next-gen
- nwm
- off roading
- overlanding
- phev
- pick up
- race
- rally
- ranger
- raptor
- t1+
- treatment
- truck
- uk
- uk ranger
- us ranger
- vehicle